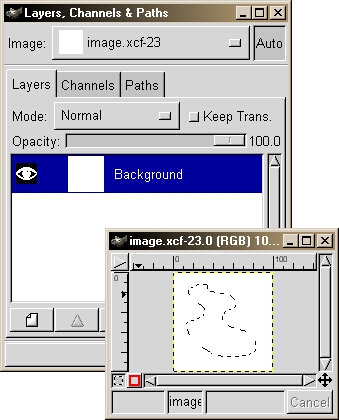
Step 1.
Create a new image and then create an abrtitary shape using
the lasso tool.
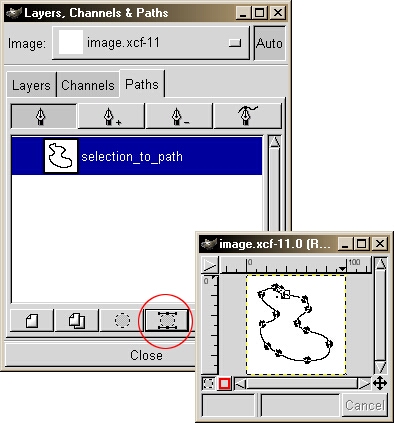
Step 2.
In the Layers dialog, click on the Paths tab. You will notice a bunch of buttons at the bottom. Click
the 4th button (Selection to Path). When you click this, you will see a layer appear in the Paths
list and your selection will turn to a solid lines with square/circle points. This means your shape has
turned into a path. This is similar to using the bezier selection tool
to create the path shape.
Once you turn your selection into a path, right click on the image, then choose Select->None to turn off the selection.
Once you turn your selection into a path, right click on the image, then choose Select->None to turn off the selection.
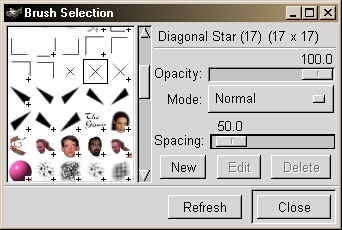
Step 3.
Now choose a brush from the brush dialog. In this example, the Diagonal Star (17) was chosen. Also the
Spacing value was adjusted to a value of 50.

Step 4.
After the brush was selected, go to the Layers dialog and in the Paths section. Select the path from the
list and click on the Stoke Path button. That's it, you have now stroked your selection with a brush.
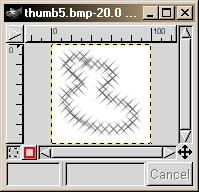
Our final image, with the star stroking.